Alternative text descriptions, often abbreviated as “alt text”, describe the content or purpose of an image so that users with visual disabilities can still understand the purpose of the image. Alt text can be very simple or quite complex, depending on the image and how it is being used.
Adding Alt Text to Images
Microsoft Word
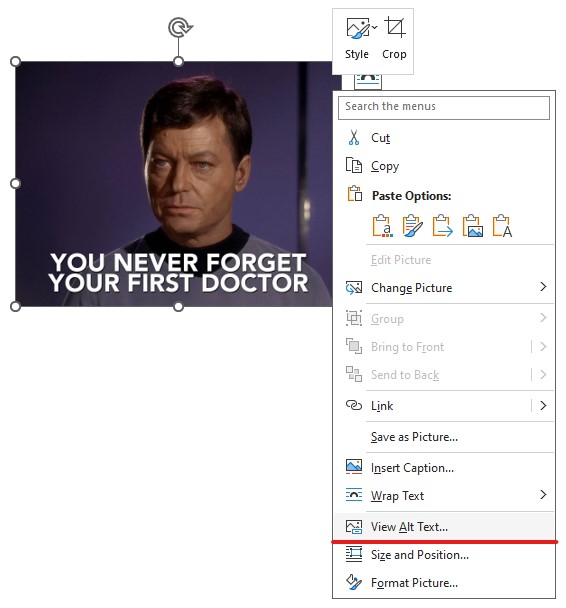
After you have added an image to your document, right-click to open the contextual menu, and then choose “View Alt Text…” (towards the bottom of the menu).
The Alt Text pane will open to the right side of the document window. You can enter your alt text into the text box in this pane.
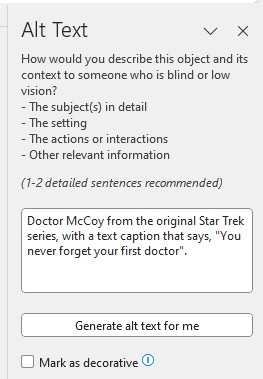
The “Mark as decorative” checkbox allows you to skip adding alt text for an image that does not actually convey any information, but is used only as a decorative element, such as clipart used as a section separator.
Automatically Generated Alt Text
Word tries to be helpful by automatically generating alt text for images that are added to documents. Unfortunately, this is a task at which Word is not very good. For example, in the screenshot used above, the sample image is a shot of DeForest Kelley as Dr. Leonard McCoy in the original Star Trek television show, with the caption, “You never forget your first doctor” (a combination Star Trek/Doctor Who joke). However, Word’s automatically generated alt text for this image is, “A person looking at the camera”. While technically correct, this alt text doesn’t convey the actual content of the image, and would be essentially useless for assistive technology users.
We recommend disabling the option entirely in the Accessibility pane of Word’s options, and ignoring the “Generate alt text for me” button in the alt text entry pane.

Google Docs
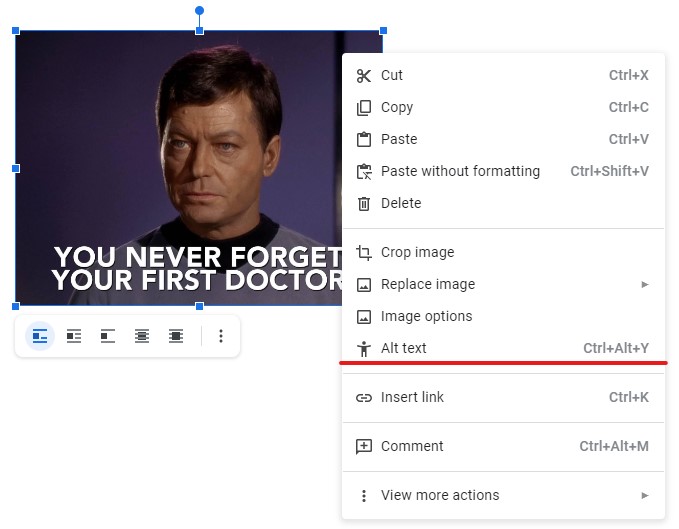
After you have added an image to your document, right-click to open the contextual menu, and then choose “Alt text…” (towards the bottom of the menu).
The Alt Text section of the Image Options panel will open to the right side of the document window. You can enter your alt text into the text box in this pane.
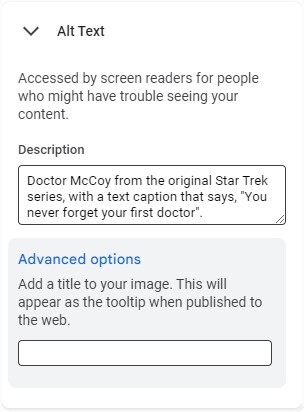
The “Advanced options” title field allows you to add extra text that will appear when a user hovers their pointer over the image, usually known as a “tooltip”. This is an optional field, as tooltips may not be read by assistive technology, and should not include important information that isn’t included in the alt text.
